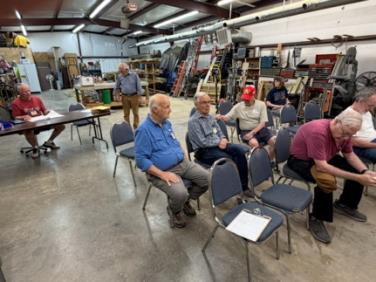
Fourteen people in attendance — ten members and four guests — at the Wheatly shop.
Club Business
Heritage Farms Update: Mike Vernon reported on a follow-up meeting with Heritage Farms (see March minutes). Mike also reported $230 in donations received for AV upgrades.
Wood from Mark Silay: The gift of wood pieces from Mark Silay was acknowledged and members were asked to make a donation to the club for any wood they took. Mark has wood warehoused in Atlanta and is looking to get it into the hands of woodturners. Truckload lots are available (your truck). Contact Gene Dixon if you want to road-trip and check out the Silay stock.
AAW Symposium: The upcoming AAW symposium was briefly mentioned.
Columbia County Events: Frank Plumley reported on opportunities with Columbia County events. The county events require that SRWT hold a business license, and some events are limited to select artistry mediums such as wall hangings. There may be additional opportunities at Mistletoe and the Columbia County Library for displays and demonstrations. Hearts ’n Hearts requires paid booth space, and the Artist Guild does have space available. Further information is needed.
Demonstration: Ribbon Finials
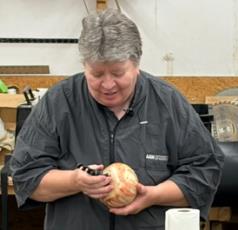
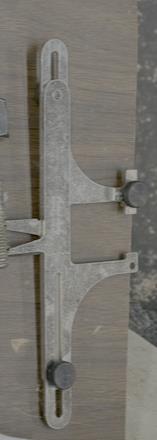
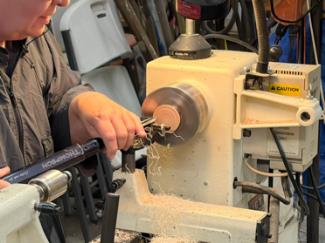
Peggy Schmid from Atlanta demonstrated making ribbon finials. Her featured tool was a Sorby thread guide capable of cutting 10, 16, and 22 TPI male and female threads in wood.
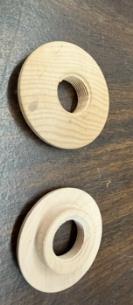
Making the Insert
Turn an “insert” about 1-1/4" diameter. Mark center and hollow the ID. The insert serves as a transition piece between the finial and a hollow form. Bradford pear, dogwood, ebony, and cocobolo are recommended insert materials.
Part the insert from the block.
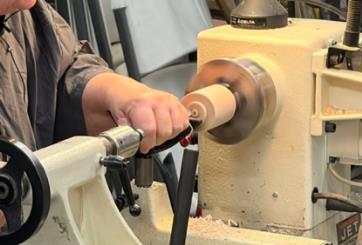
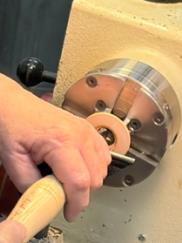
Remount the insert and clean-cut the face. Size the bore for threading using the Sorby thread guide.
Chase threads with the thread die — hold the die slightly below center and cut until a clear peak is visible. Set the lathe to very slow speed for thread cutting. Set the insert aside.
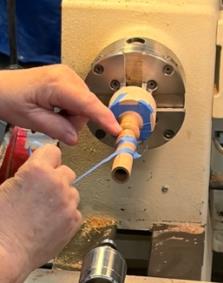
Threading the Finial
Mount finial stock on the lathe. Using the thread guide, size a tenon to match the insert thread. Cut a thread relief groove at the base of the tenon and add a slight bevel on the end. Cut male threads onto the tenon at minimum lathe speed with the die slightly below center. Check fit with the insert. Once acceptable, wrap threads with painters tape.
Tool prep: Before threading, grind away the half tooth from the thread die.
- Mount a waste block and cut a mortise for a jam fit with the taped threads. The tape acts as a thread release when the finial is complete. Insert the finial.
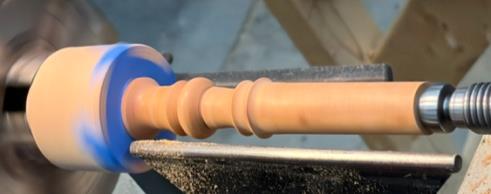
Hollowing and Shaping
- Core and drill the finial with a machine drill bit — do not use a brad point bit. Apply wax to the drill bit as needed for a smooth cut.
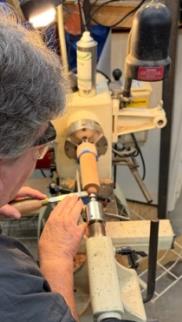
- Size the finial wall thickness by turning the OD, using something similar to a live cone center in the tailstock. Leave a pocket at the bottom of the finial — this holds a dowel rod during ribbon carving.

- Sand and polish the finial after shaping. Add any artwork you prefer.
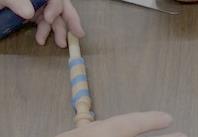
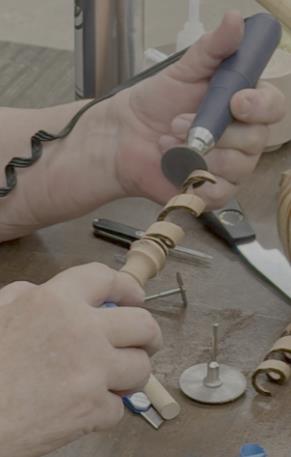
Carving the Ribbon
- Apply painters tape in a candy cane / barber pole stripe along the finial. This marks the ribbon swirl layout.
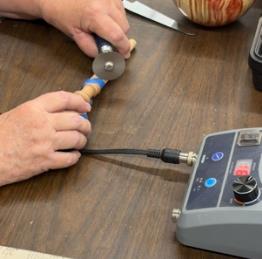
Remove the finial and insert a dowel rod sized to match the ID. The dowel supports the finial during carving.
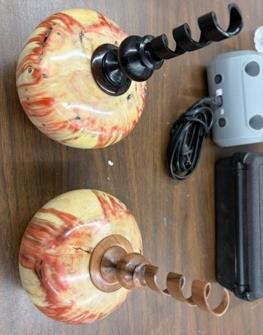
Using a power carver, create a pathway along the taped layout — a gentle touch is essential. Cutting wheels can be sourced from Harbor Freight. Leave a portion of the dowel pocket untouched so waste ribbon material releases cleanly, avoiding the need to carve a relief into the transition from swirl to finial base.
- Gently remove tape and waste once loosened from the finial. The ribbon is fragile. Sand as needed.
There was no Show ’n Tell at this meeting. Meeting adjourned at approximately 11:30 AM.
Mark your calendars — May 16th at Wheatley’s Shop. Wayne Jensen demonstrates. Happy Turning!